When I was new to Django, one of the most frustrating things I experienced was the need to run a bit of code periodically. I wrote a nice function that performed an action that needed to run daily at 12am. Easy, right? Wrong. This turned out to be a huge problem to me since at the time I was used to “Cpanel-type” web hosting where there was a nice handy GUI for setting up cron jobs for this very purpose.
After much research, I found a nice solution – Celery, a powerful asynchronous job queue used for running tasks in the background. But this led to additional problems, since I couldn’t find an easy set of instructions to integrate Celery into a Django Project.
Of course I eventually did manage to figure it – which is what this article will cover: How to integrate Celery into a Django Project and create Periodic Tasks.
This project utilizes Python 3.4, Django 1.8.2, Celery 3.1.18, and Redis 3.0.2.
Overview
For your convenience, since this is such a large post, please refer back to this table for brief info on each step and to grab the associated code.
| Step | Overview | Git Tag | |
|---|---|---|---|
| Boilerplate | Download boilerplate | v1 | |
| Setup | Integrate Celery with Django | v2 | |
| Celery Tasks | Add basic Celery Task | v3 | |
| Periodic Tasks | Add Periodic Task | v4 | |
| Running Locally | Run our app locally | v5 | |
| Running Remotely | Run our app remotely | v5 |
What is Celery?
“Celery is an asynchronous task queue/job queue based on distributed message passing. It is focused on real-time operation, but supports scheduling as well.” For this post, we will focus on the scheduling feature to periodically run a job/task.
Why is this useful?
- Think of all the times you have had to run a certain task in the future. Perhaps you needed to access an API every hour. Or maybe you needed to send a batch of emails at the end of the day. Large or small, Celery makes scheduling such periodic tasks easy.
- You never want end users to have to wait unnecessarily for pages to load or actions to complete. If a long process is part of your application’s workflow, you can use Celery to execute that process in the background, as resources become available, so that your application can continue to respond to client requests. This keeps the task out of the application’s context.
Setup
Before diving into Celery, grab the starter project from the Github repo. Make sure to activate a virtualenv, install the requirements, and run the migrations. Then fire up the server and navigate to http://localhost:8000/ in your browser. You should see the familiar “Congratulations on your first Django-powered page” text. When done, kill the sever.
Next, let’s install Celery:
1 2 |
|
Now we can integrate Celery into our Django Project in just three easy steps.
Step 1: Add celery.py
Inside the “picha” directory, create a new file called celery.py:
1 2 3 4 5 6 7 8 9 10 11 12 13 14 15 16 17 18 |
|
Take note of the comments in the code.
Step 2: Import your new Celery app
To ensure that the Celery app is loaded when Django starts, add the following code into the __init__.py file that sits next to your settings.py file:
1 2 3 4 5 |
|
Having done that, your project layout should now look like:
1 2 3 4 5 6 7 8 |
|
Step 3: Install Redis as a Celery “Broker”
Celery uses “brokers” to pass messages between a Django Project and the Celery workers. In this tutorial, we will use Redis as the message broker.
First, install Redis from the official download page or via brew (brew install redis) and then turn to your terminal, in a new terminal window, fire up the server:
1
|
|
You can test that Redis is working properly by typing this into your terminal:
1
|
|
Redis should reply with PONG – try it!
Once Redis is up, add the following code to your settings.py file:
1 2 3 4 5 6 7 |
|
You also need to add Redis as a dependency in the Django Project:
1 2 |
|
That’s it! You should now be able to use Celery with Django. For more information on setting up Celery with Django, please check out the official Celery documentation.
Before moving on, let’s run a few sanity checks to ensure all is well…
Test that the Celery worker is ready to receive tasks:
1 2 3 4 5 |
|
Kill the process with CTRL-C. Now, test that the Celery task scheduler is ready for action:
1 2 3 |
|
Boom!
Again, kill the process when done.
Celery Tasks
Celery utilizes tasks, which can be thought of as regular Python functions that are called with Celery.
For example, let’s turn this basic function into a Celery task:
1 2 |
|
First, add a decorator:
1 2 3 4 5 |
|
Then you can run this task asynchronously with Celery like so:
1
|
|
Simple, right?
So, these types of tasks are perfect for when you want to load a web page without making the user wait for some background process to complete.
Let’s look at an example…
Going back to the Django Project, grab version three, which includes an app that accepts feedback from users, aptly called feedback:
1 2 3 4 5 6 7 8 9 10 11 12 13 14 15 16 17 18 19 20 21 22 23 |
|
Install the new requirements, fire up the app, and navigate to http://localhost:8000/feedback/. You should see:
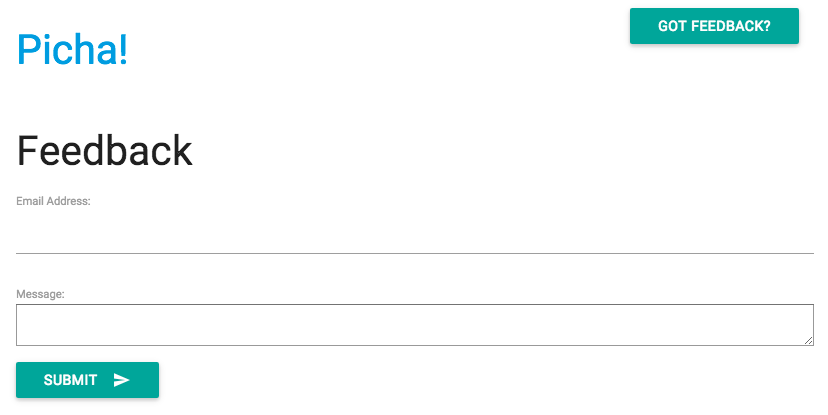
Let’s wire up the Celery task.
Add the Task
Basically, after the user submits the feedback form, we want to immediately let him continue on his merry way while we process the feedback, send an email, etc., all in the background.
To accomplish this, first add a file called tasks.py to the “feedback” directory:
1 2 3 4 5 6 7 8 9 10 11 12 13 |
|
Then update forms.py like so:
1 2 3 4 5 6 7 8 9 10 11 12 13 14 15 16 17 |
|
In essence, the send_feedback_email_task.delay(email, message) function processes and sends the feedback email in the background as the user continues to use the site.
NOTE: The
success_urlin views.py is set to redirect the user to/, which does not exist yet. We’ll set this endpoint up in the next section.
Periodic Tasks
Often, you’ll need to schedule a task to run at a specific time every so often – i.e., a web scraper may need to run daily, for example. Such tasks, called periodic tasks, are easy to set up with Celery.
Celery uses “celery beat” to schedule periodic tasks. Celery beat runs tasks at regular intervals, which are then executed by celery workers.
For example, the following task is scheduled to run every fifteen minutes:
1 2 3 4 5 6 7 |
|
Let’s look at more robust example by adding this functionality into the Django Project…
Back to the Django Project, grab version four, which includes another new app, called photos, that uses the Flickr API to get new photos for display on the site:
1 2 3 4 5 6 7 8 9 10 11 12 13 14 15 16 17 18 19 20 21 22 23 24 25 26 27 28 29 30 31 32 33 34 |
|
Install the new requirements, run the migrations, and then fire up the server to make sure all is well. Try testing out the feedback form again. This time it should redirect just fine.
What’s next?
Well, since we would need to call the Flickr API periodically to add more photos to our site, we can add a Celery task.
Add the Task
Add a tasks.py to the photos app:
1 2 3 4 5 6 7 8 9 10 11 12 13 14 15 16 17 18 19 20 |
|
Here, we run the save_latest_flickr_image() function every fifteen minutes by wrapping the function call in a task. The @periodic_task decorator abstracts out the code to run the Celery task, leaving the tasks.py file clean and easy to read!
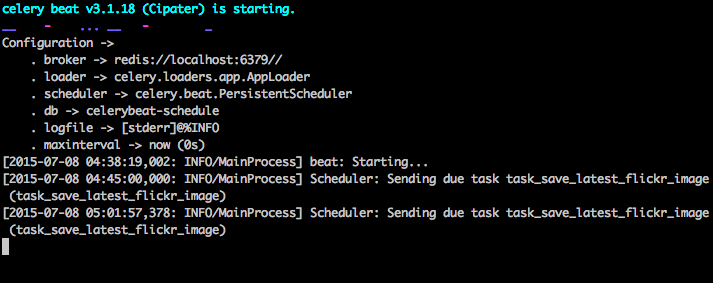
Running Locally
Ready to run this thing?
With your Django App and Redis running, open two new terminal windows/tabs. In each new window, navigate to your project directory, activate your virtualenv, and then run the following commands (one in each window):
1 2 |
|
When you visit the site on http://127.0.0.1:8000/ you should now see one image. Our app gets one image from Flickr every 15 minutes:
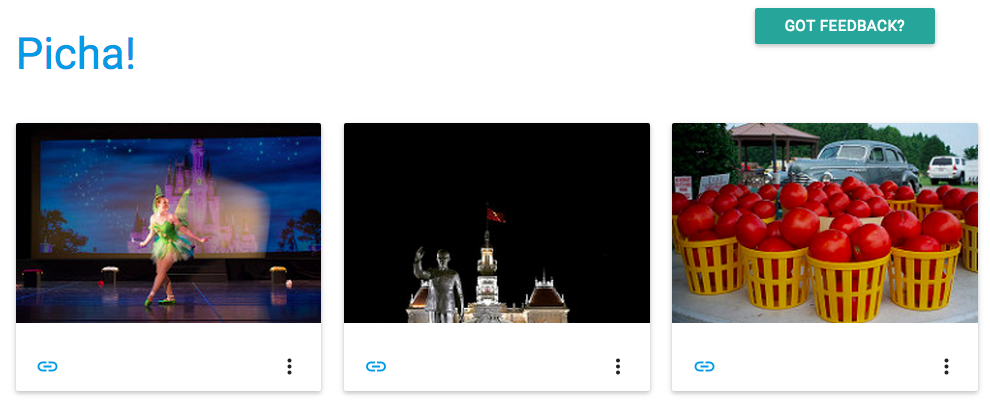
Take a look at photos/tasks.py to see the code. Clicking on the “Feedback” button allows you to… send some feedback:
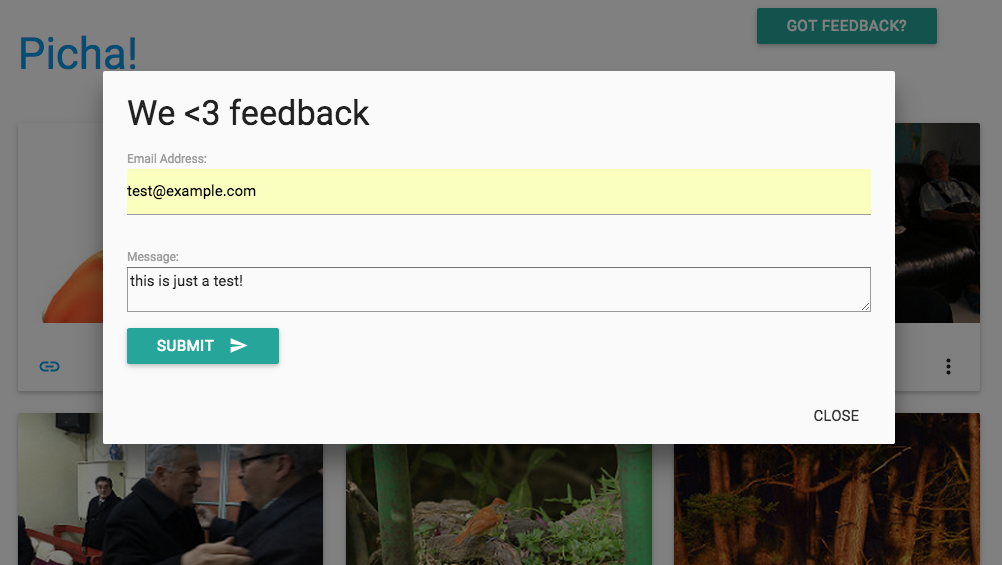
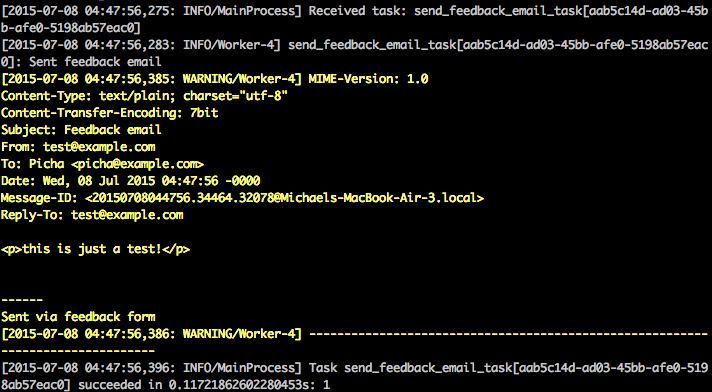
This works via a celery task. Have a look at feedback/tasks.py for more.
That’s it, you have the Picha project up and running!
This is good for testing while developing your Django Project locally, but does not work so well when you need to deploy to production – like on DigitalOcean, perhaps. For that, it is recommended that you run the Celery worker and scheduler in the background as a daemon with Supervisor.
Running Remotely
Installation is simple. Grab version five from the repo (if you don’t already have it). Then SSH into your remote server and run:
1
|
|
We then need to tell Supervisor about our Celery workers by adding configuration files to the “/etc/supervisor/conf.d/” directory on the remote server. In our case, we need two such configuration files – one for the Celery worker and one for the Celery scheduler.
Locally, create a folder called “supervisor” in the project root. Then add the following files…
Celery Worker: picha_celery.conf
1 2 3 4 5 6 7 8 9 10 11 12 13 14 15 16 17 18 19 20 21 22 23 24 25 26 27 28 29 30 31 32 33 34 35 36 37 38 39 40 41 42 43 44 45 46 47 48 49 50 51 52 |
|
Celery Scheduler: picha_celerybeat.conf
1 2 3 4 5 6 7 8 9 10 11 12 13 14 15 16 17 18 19 20 21 22 23 24 25 26 27 28 29 30 31 32 33 34 35 36 37 38 39 40 41 42 43 |
|
Make sure to update the paths in these files to match the remote server’s filesystem.
Basically, these supervisor configuration files tell supervisord how to run and manage our ‘programs’ (as they are called by supervisord).
In the examples above, we have created two supervisord programs named “pichacelery” and “pichacelerybeat”.
Now just copy these files to the remote server in the “/etc/supervisor/conf.d/” directory.
We also need to create the log files that are mentioned in the above scripts on the remote server:
1 2 |
|
Finally, run the following commands to make Supervisor aware of the programs – e.g., pichacelery and pichacelerybeat:
1 2 |
|
Run the following commands to stop, start, and/or check the status of the pichacelery program:
1 2 3 |
|
You can read more about Supervisor from the official documentation.
Final Tips
- Do not pass Django model objects to Celery tasks. To avoid cases where the model object has already changed before it is passed to a Celery task, pass the object’s primary key to Celery. You would then, of course, have to use the primary key to get the object from the database before working on it.
- The default Celery scheduler creates some files to store its schedule locally. These files would be “celerybeat-schedule.db” and “celerybeat.pid”. If you are using a version control system like Git (which you should!), it is a good idea to ignore this files and not add them to your repository since they are for running processes locally.
Next steps
Well, that’s it for the basic introduction to integrating Celery into a Django Project.
Want more?
- Dive into the official Celery User Guide to learn more.
- Create a Fabfile to setup Supervisor and the configuration files. Make sure to add the commands to
rereadandupdateSupervisor. - Fork the Project from the repo and open a Pull Request to add a new Celery task.
Happy coding!