They might not be delivering our mail (or our burritos) yet, but drones are now simple, small, and affordable enough that they can be considered a toy. You can even customize and program some of them via handy dandy Application Programming Interfaces (APIs)! The Parrot AR Drone has an API that lets you control not only the drone’s movement but also stream video and images from its camera. In this post, I’ll show you how you can use Python and node.js to build a drone that moves all by itself.

Hold onto your butts.
The Project
So given that I’m not a drone, or a machine vision professional, I’m going to have to keep things simple. For this project, I’m going to teach my drone how to follow a red object.
I know, I know, it’s a far cry from a T-800 Model 101 (or even something like this), but given my time and budget constraints it’s a good place to start! In the meantime, feel free to send your best autonomous terminators or drone swarms my way.

No neural net processors here, just node.js and Python.
The Drone
When I opened my drone on Christmas morning I wasn’t entirely sure what I was going to do with it, but one thing was for certain: This thing was cool. The AR Drone 2.0 (I know super lame name) is a quadcopter. If you’re imagining those fit in the palm of your hand, single-rotor, RC gizmos, you’re in the wrong ballpark. The first thing I noticed (and was most surprised by) was how big the AR Drone is. With its “indoor shell” on, it’s about 2 feet wide, 2 feet long, and 6 inches high. It’s also kind of loud–in a good way (like a terrify your dog kind of way, unlike this down to drone pup). Combine that with 2 cameras–one front and one bottom, and you’ve got yourself the ultimate grown up geek toy.

Programming your drone
What sets the AR Drone apart is that it’s old (in drone years)–it was first released in 2012. This might seem like a bad thing BUT since we’re trying to program this gizmo, it’s actually a good thing.
Given that it’s had 4 years to “mature”, there are some really great APIs, helper libraries, and project/code samples for controlling/programming the drone (see list of resources below). So in essence, someone else has already done the hard part of figuring out how to communicate with the drone in bytecode, so all I have to do is import the node_module and I’m off to the figurative drone races.
Programming the drone is actually quite easy. I’m using the ar-drone node.js module. I’ve found that it works really well despite not being under super active development. To start, let me show you how to do a pre-programmed flightplan. The following program is going to:
- connect to the drone over wifi
- tell the drone to takeoff
- after 1 second, spin clockwise at full throttle
- 1 second after that, stop and then move forwards at 50% thrust
- another 1 second after that, stop and land
Pretty simple little program. Now even though it’s pretty straightforward, I will still highly recommend having an emergency landing script readily available. Cause you never know you need one till you really need one 😉
var arDrone = require('ar-drone');
var drone = arDrone.createClient();
drone.takeoff();

drone
  .after(1000, function() {
    drone.clockwise(1.0);
  })
  .after(1000, function() {
    drone.stop();
    drone.front(0.5);
  })
  .after(1000, function() {
    drone.stop();
    drone.land();
  })
[embedded content]
You can also pull off some fancier moves–you know, to impress your friends. My personal favorite is a backflip.
[embedded content]
Le Machine Vision
Ok now for the second piece of the puzzle: teaching our drone how to see. To do this, we’re going to be using OpenCV and the Python module cv2. OpenCV can be a little prickly to work with, but it can do some really impressive stuff and even has some machine learning libraries baked right into it.
We’re going to be using OpenCV to do some basic object tracking. We’re going to have the camera track anything red that appears in its field of vision. Sort of like a bull at a bullfight.
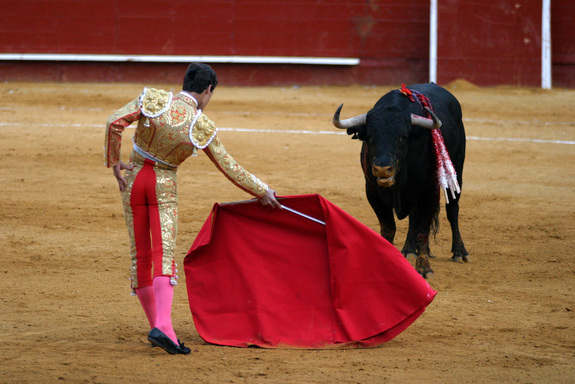
Just like this, except substitute the bull for a drone, and the red cape (muleta) for a Greg ☹! Also, my pants aren’t quite that tight.
Good news for us is that cv2 makes this really easy to do.
import numpy as np
import cv2
from skimage.color import rgb2gray
from PIL import Image
from StringIO import StringIO
from scipy import ndimage
import base64
import time

def get_coords(img64):
    "Reads in a base64 encoded image, filters for red, and then calculates the center of the red"
    # convert the base64 encoded image a numpy array
    binaryimg = base64.decodestring(img64)
    pilImage = Image.open(StringIO(binaryimg))
    image = np.array(pilImage)

    # create lower and upper bounds for red
    red_lower = np.array([17, 15, 100], dtype="uint8")
    red_upper = np.array([50, 56, 200], dtype="uint8")

    # perform the filtering. mask is another word for filter
    mask = cv2.inRange(image, red_lower, red_upper)
    output = cv2.bitwise_and(image, image, mask=mask)
    # convert the image to grayscale, then calculate the center of the red (only remaining color)
    output_gray = rgb2gray(output)
    y, x = ndimage.center_of_mass(output_gray)

    data = {
        "x": x,
        "y": y,
        "xmax": output_gray.shape[1],
        "ymax": output_gray.shape[0],
        "time": time.time()
    }
    return data
As you can see above, I’m using a color mask to filter the pixels in an image. It’s a simple but intuitive approach. And more importantly it works. Take a look:
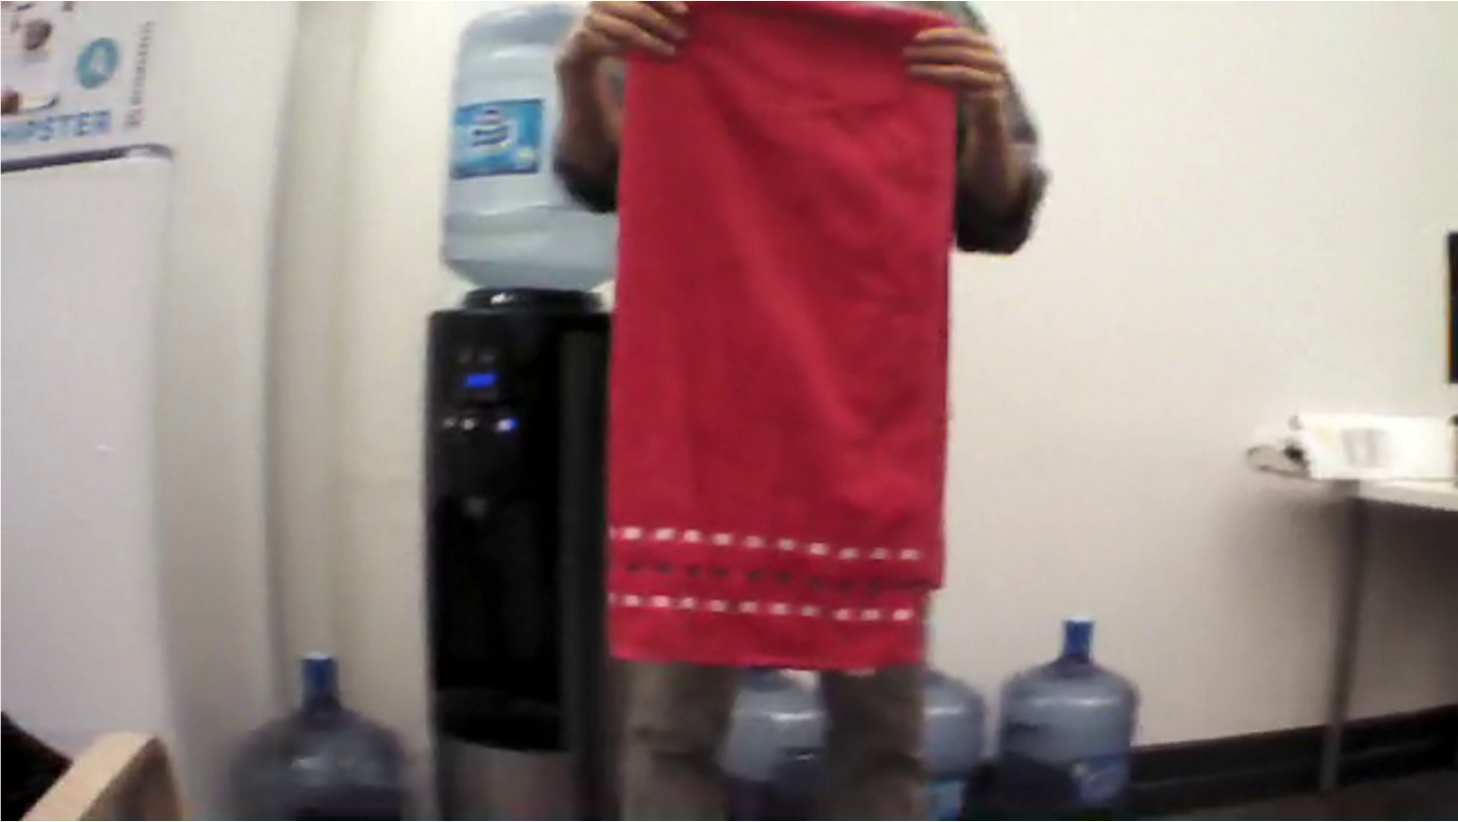
Raw camera feed
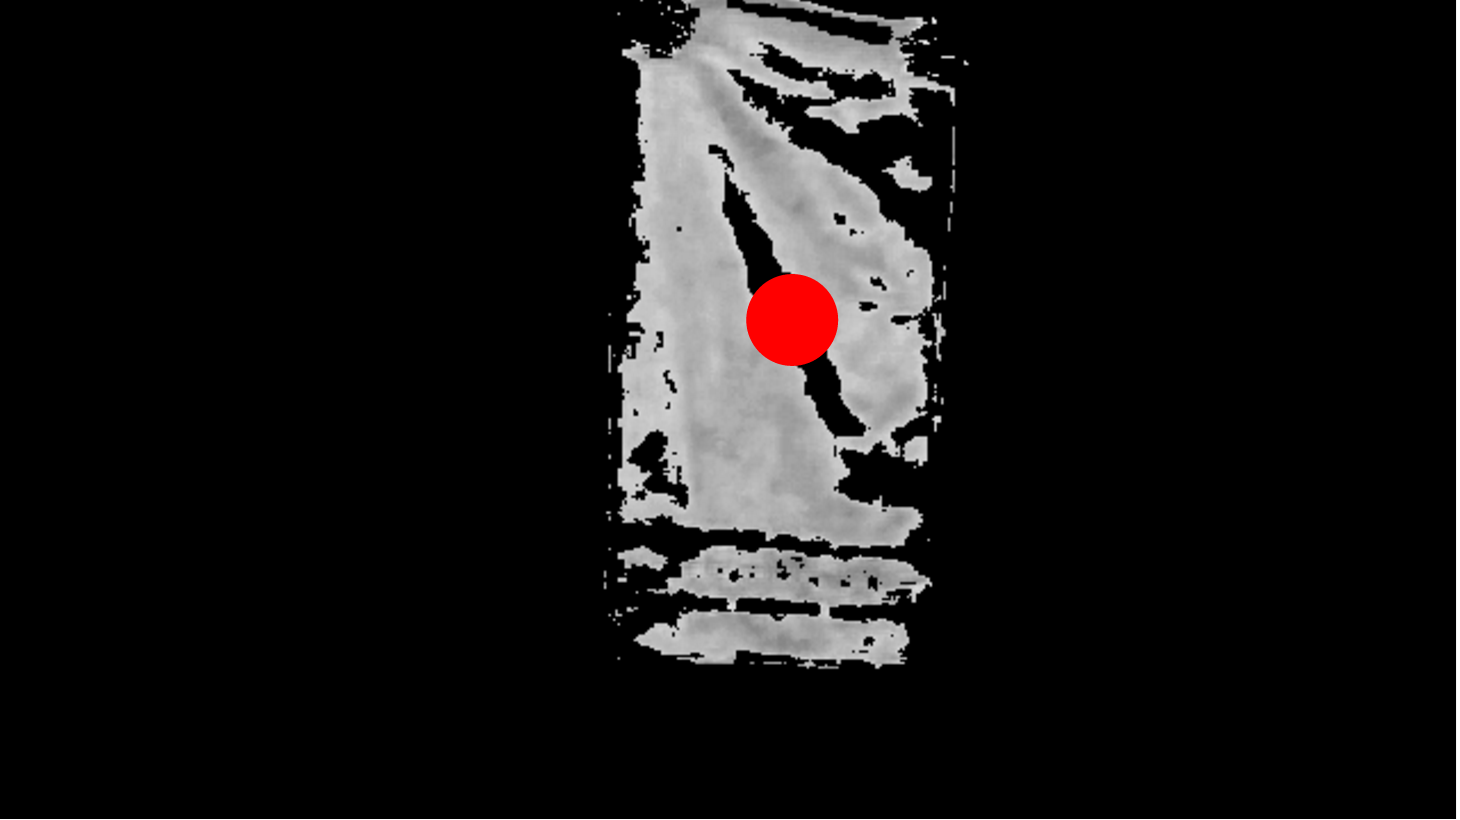
Processed with red filter
It’s learning! Ok well maybe not quite like a T-800 Model 101, but it’s at least a start.

Is the red dot a coincidence? Think again…
Raw camera feed
Processed with red filter
Stitching things together
Ok here comes the tricky part. We’ve got our little node.js script that can control the drone’s navigation, and we’ve got the python bit that can detect where red things are in an image, but the question looms: How do we glue them together?
Well my friends, to do this I’m going to use Yhat’s own model deployment software, ScienceOps. I’m going to deploy my Python code onto ScienceOps, where it’ll be accessible via an API, and then from node.js I can call my model on ScienceOps. What this means is that I’ve boiled my OpenCV red-filtering model into a really simple HTTP endpoint. I’m using ScienceOps to make my childhood drone bull fighting dreams come true, but you could use it to embed any R or Python model into any application capable of making API requests, be it drone or otherwise.
No more recoding to get models into production. FREEDOM!
I don’t need to mess around with any cross-platform baloney, and if I need to up the horsepower of my model (say for instance if I’m controlling more than one drone), I can let ScienceOps scale out my model automatically. If you want more info about deploying models (or drones) into production using ScienceOps, head over to our site or schedule a demo to see it live.
from yhat import Yhat, YhatModel

class DroneModel(YhatModel):
    REQUIREMENTS = [
        "opencv"
    ]
    def execute(self, data):
        return get_coords(data['image64'])

yh = Yhat(USERNAME, APIKEY, "https://sandbox.yhathq.com/")
yh.deploy("DroneModel", DroneModel, globals(), True)
What does all this mean? Well for one, it means my node.js code just got a lot simpler. I can even use the Yhat node.js library to execute my model:
var fs = require('fs');
var img = fs.readFileSync('./example-image.png').toString('base64');

var yhat = require('yhat');
var cli = yhat.init('greg', 'my-apikey-goes-here', 'https://sandbox.yhathq.com/');

cli.predict('DroneModel', base64edImage, function(err, data) {
  console.log(JSON.stringify(data, null, 2));
  // {
  //   "result": {
  //     "time": 1460067540.30213,
  //     "total_red": 5.810973333333334,
  //     "x": 425.0256166460453,
  //     "xmax": 640,
  //     "y": 220.03434178824077,
  //     "ymax": 360
  //   },
  //   "version": 1,
  //   "yhat_id": "529b84c9c4957008446a56faadc152a6",
  //   "yhat_model": "DroneModel"
  // }
  var x = data.x / data.xmax - 0.5
    , y = data.y / data.ymax - 0.5;

  if (x > 0) {
    drone.right(Math.abs(x));
  } else {
    drone.left(Math.abs(x));
  }
  if (y > 0) {
    drone.up(Math.abs(y));
  } else {
    drone.down(Math.abs(y));
  }
});
Sweet! Now I can pretty much just drop this into my navigation script. All I need to do is tell my script how I want to react to the response. In this case it’s going to be a couple steps:
- Call the
DroneModelmodel hosted on ScienceOps - If there weren’t any errors, look at the result. The result will give me the
xandycoordinates of the red in the image. - Make course adjustments to the drone that attempt to move the red to the center of the drone’s field of vision.
So simple! What could possibly go wrong?
[embedded content]
Mending my metaphorical stitching
As the adage goes, If at first you don’t succeed try, try again. It took me a few iterations to get the autonomous piece to actually work. Turns out, combining individual components has the propensity to compound your error!
But not to worry! My drone took its fair share of bumps and bruises but it’s a tough little guy–Pro Tip: You can patch up your drone with duct tape. Just be sure to apply equal amounts to each side of the drone so it’s balanced!
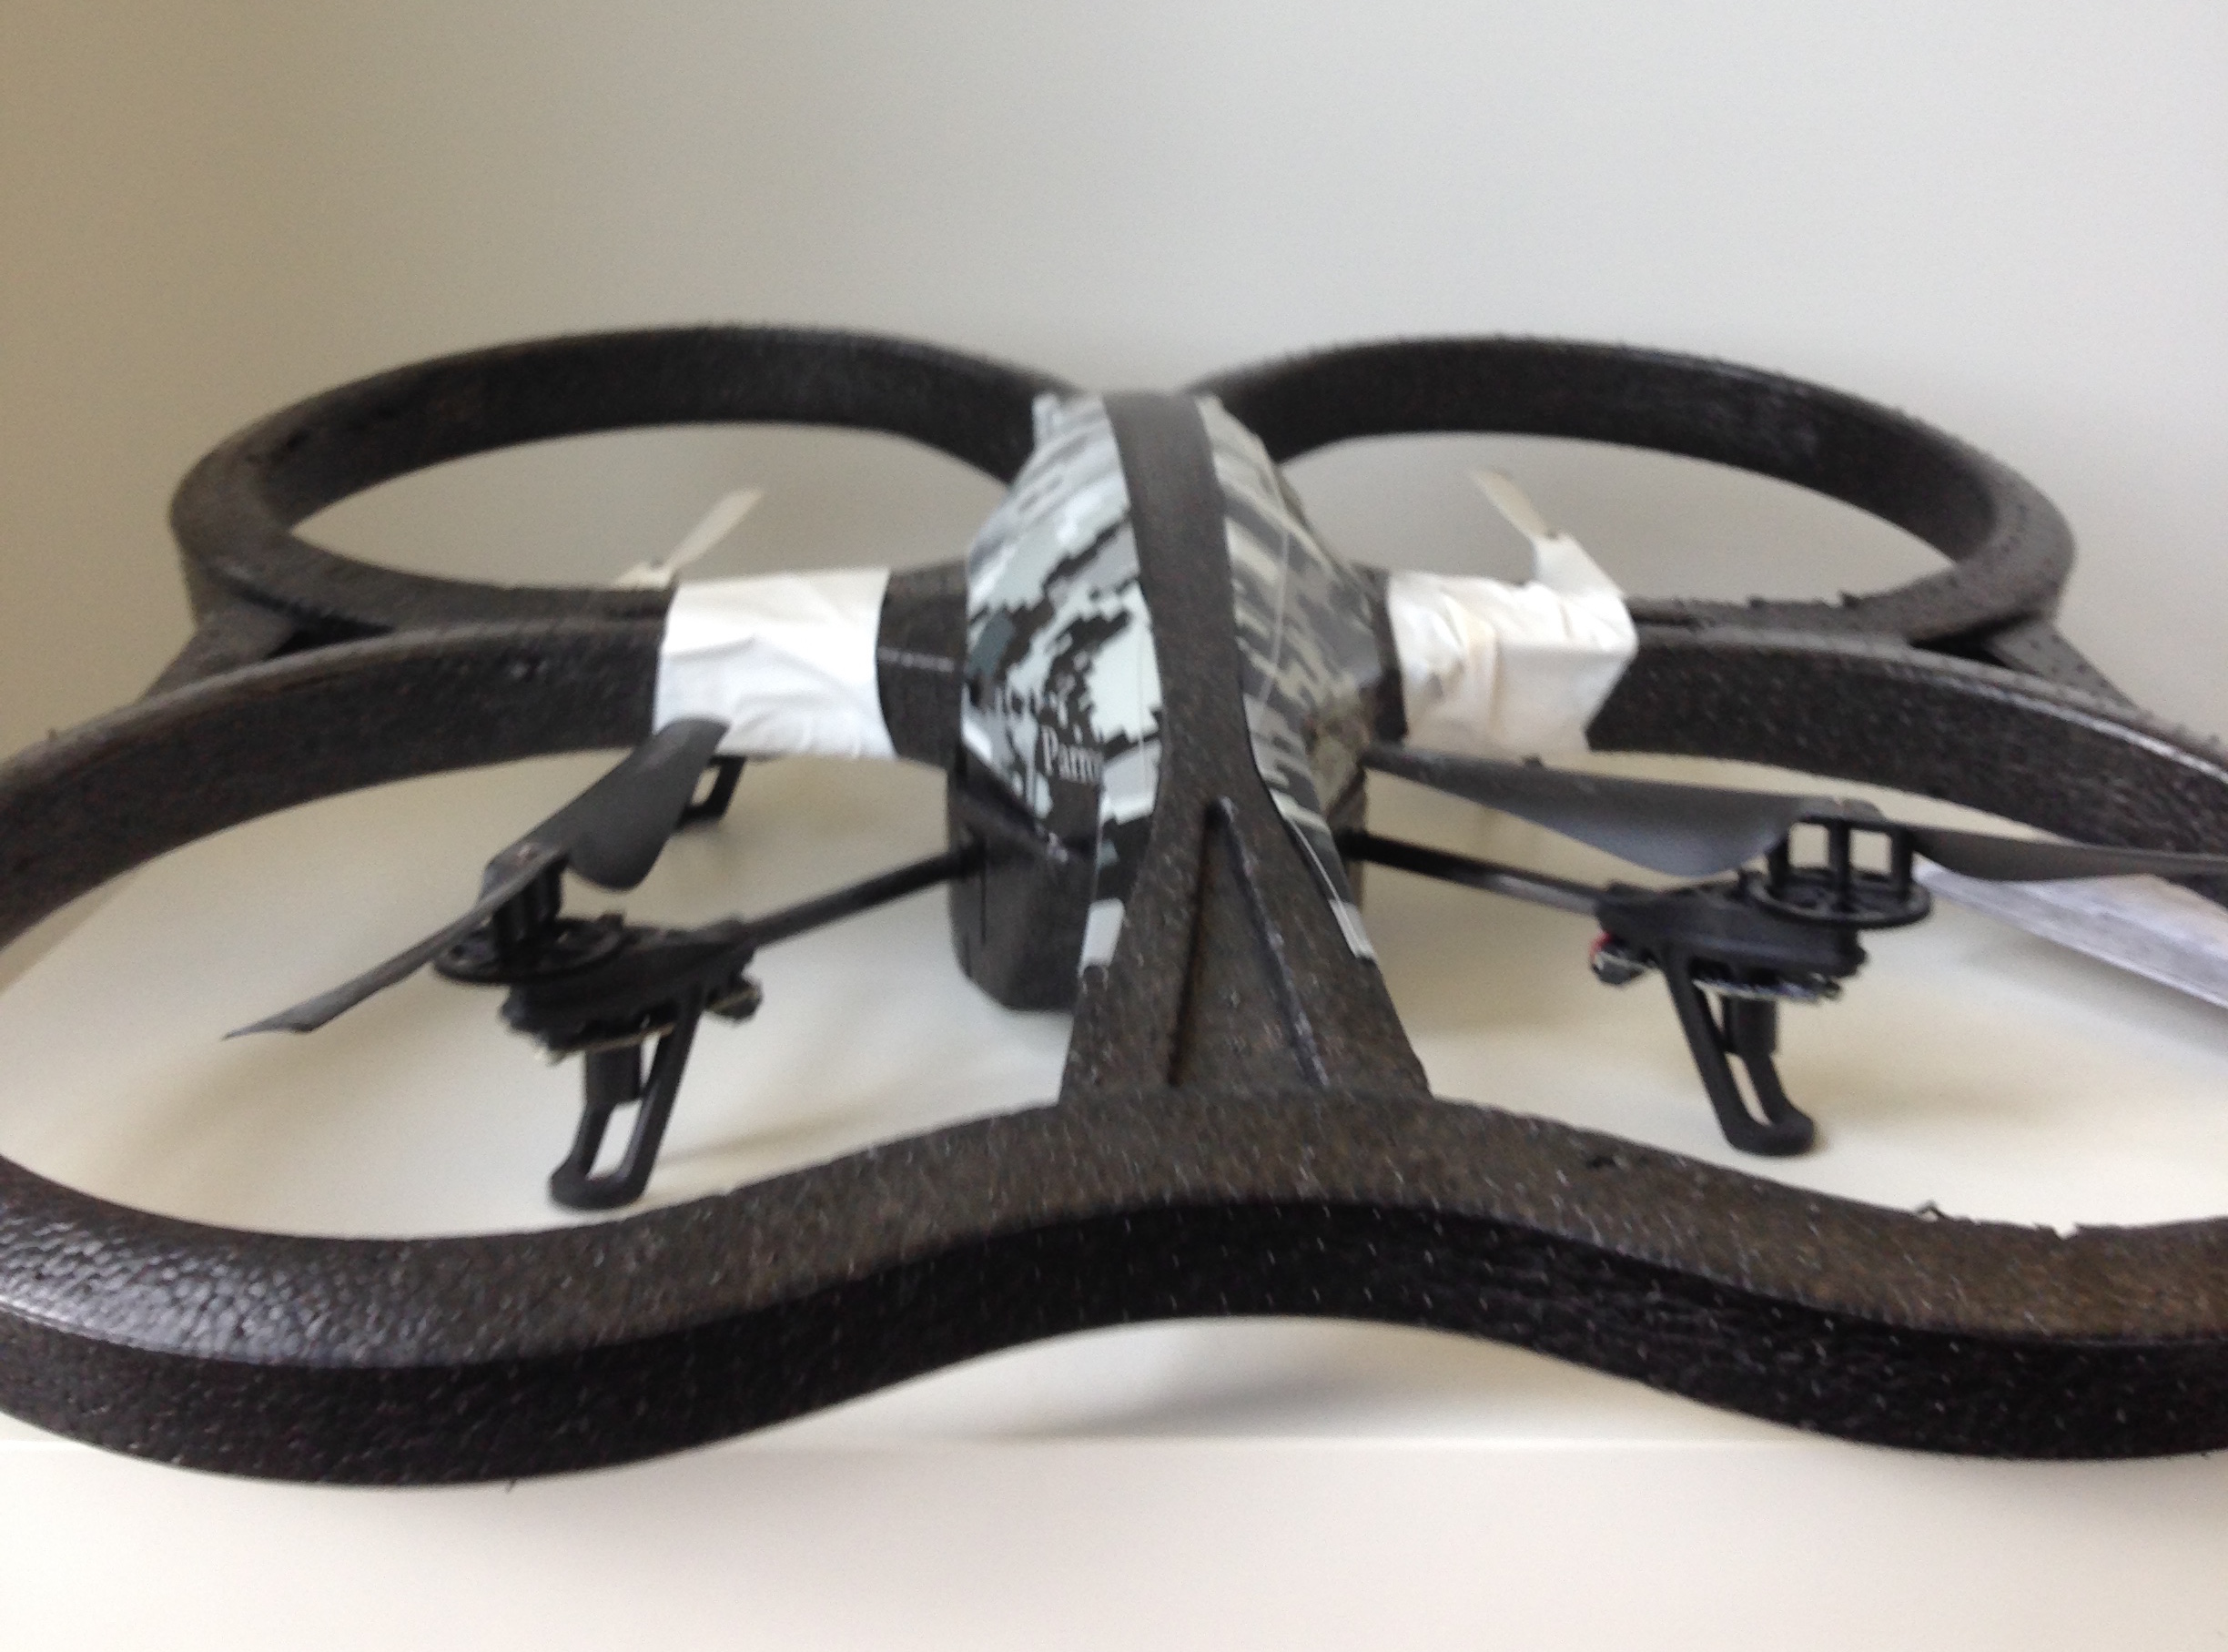
Duct Tape: More than a metaphor.
A couple of things I learned the hard way:
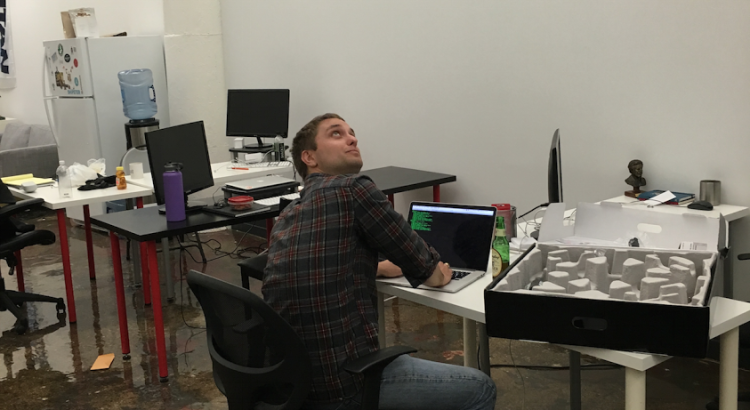
- Build a helper app: After a few trial runs I built a helper app (see video below) to determine what/why things were happening. Let me tell you, this should’ve been step #1. It was invaluable being able to see what code my program was executing and what the processed images looked like.
- Don’t over-correct: For simple things like this, if you tell the drone to do too much at the same time, it freaks out and either (a) just sits there or (b) starts errantly flying all over the room (see video above).
- Always have an emergency landing script handy: I mentioned this earlier but it can’t be overemphasized. The reason is that if your program crashes and you haven’t landed your drone, you’re in deep … trouble. Your drone is going to keep flying (possibly errantly) until you tell it to land. Having
emergency-landing.jshandy will save you some maintenance (and possibly from a lawsuit). - If it’s windy, don’t fly your drone: Learned this one the really hard way…
In the end with some persistence and a little luck, I was able to get a couple of good autonomous runs in!
[embedded content]
In the wild
I wound up presenting this at PAPIs Valencia which was a lot of fun (BTW PAPIs is awesome! I highly recommend it for anyone interested in predictive analytics). Unfortunately my PAPIs demo didn’t go quite as smoothly. The lighting in the lecture hall was different than in our office and as a result, the red didn’t quite get filtered the same way. Despite the less than stellar performance, it was still a lot of fun!
Resources
Want to learn more about programming your own drone? Here are some great resources for getting started:
Also, here’s a link to the repo if you want my code.
One for the road.